Controlling Animation Timing
There is a protocol called CAMediaTiming which is implemented by CAAnimation, the base class of CABasicAnimation and CAKeyframeAnimation. It is where all the timing related properties – like duration, beginTime and repeatCount – come from. All in all the protocol defines eight properties that can be combines in a number of ways to precisely control timing. The documentation is only a few sentences per property so you could probably read it all and the actual header way faster than this article but I feel that timing is better explained with visualizations.
Visualizing CAMediaTiming
To show the different timing related properties, both on their own and in combination, I’m animating a color from orange to blue. The block shows the progress of the animation from start to finish (orange to blue) and the ticks on the timeline are one second apart. You can look at any point on the timeline to see what the current color would be X seconds into the animation. For example, duration is visualized below.
The duration is set to 1.5 seconds so the animation takes a second and a half to animate all the way to blue.
duration=1.5
By default CAAnimations are removed from the layer upon completion. This is also visualized above. Once the animation reaches the final value it is removed from the layer. If the color of the layer would have been orange (the start value) the color would have returned to the orange value. In this visualization the color property of the layer is white so you can also see that two seconds after the animation was added to the layer it will be white again because the animation is finished by then.
If we also visualize the beginTime of the animation then this will make more sense.
duration=1.5, beginTime=1.0
The durations is set to 1.5 seconds and the beginTime is set to the current time (CACurrentMediaTime()) plus 1 second so the animation ends after two and a half seconds. After the animation is added to the layer it takes a second for it start and visually appear. The rest is just 1+1.5=2.5.
To get the animation to show the fromValue before it has begun (as set using the beginTime) you can configure it to fill backwards. This is done by setting the fillMode to kCAFillModeBackwards1.
duration=1.5, beginTime=1.0, fillMode=back
The autoreverses property causes the animation to go from the start value to the end value and do the same animation in reverse taking it back to the start value. This means that if effectively takes twice as long.
duration=1.5, autoreverses
Compare that to repeatCount which can repeat the animation twice (as seen below) or any number of times (you can even use fractional repeat counts like 1.5 to do one and a half animation). Once the animation reaches it’s final value it immediately jumps back to the initial value and starts over.
duration=1.5, repeatCount=2.0
Similar to repeat count, but rarely ever used, is repeat duration. It will simply repeat the animation for a given duration (2 seconds shown below). Passing a repeat duration that is less than the animation duration will cause the animation to end early (after the repeat duration).
duration=1.5, repeatDuration=2.0
These can all be combined to repeat a reversing animation a number of times or a given duration.
duration=0.5, repeatCount=2.5, autoreverses
One of the more interesting timing related properties is speed. By setting the duration to 3 seconds but the speed to 2 the animation will effectively take just one and a half second because it runs twice as fast2.
duration=3.0, speed=2.0
If only a simple animation was configured then you could have just divided the beginTime and duration yourself to get the same result but the power of the speed property comes from two facts:
- Animation speed is hierarchical
- CAAnimation is not the only class which implement CAMediaTiming
Hierarchical speed
An animation with the speed 1.5 that is part of an animation group with speed 2 will effectively run 3 times as fast.
Other implementations of CAMediaTiming
CAMediaTiming is a protocol that CAAnimation implements but the same protocol is also implemented by CALayer, the base class of all Core Animation layers. This means that you can set the speed of a layer to 2.0 and all animations that are added to it will run twice as fast. This also works with the timing hierarchy so an animation with speed 3 on a layer with speed 0.5 will run at 1.5 times normal.
Controlling the speed of an animation or a layer can also be used to pause the animation by setting the speed to 0. Together with timeOffset this can control an animation from an external mechanism like a slider which will be shown later in this article.
The timeOffset property is very strange at first. As the name suggests it offsets the time that is used to calculate the state of the animation. This is best visualized. Below is an animation with a 3 second duration that is offset 1 second.
duration=3.0, timeOffset=1.0
The animation starts off one second into the transition from orange to blue and runs the final two seconds until it becomes completely blue. Then it jumps back to be completely orange and does the first second of the color transition. It is as if we cut away the first second of the animation and moved it to the end.
This property in itself has almost no use but it can be combined with a paused animation (speed = 0) to control the “current time”. A paused animation is stuck at the first frame. If you look at the very first color in the offset animation (above) you can see that it’s the color value one second into the color transition. By setting the time offset to another value you get that time into the transition.
If you want more of these timing illustrations, I made a little cheat sheet.
Controlling animation timing
Used together, speed and timeOffset can control the current “time” of an animation. There is almost no code involved but the concept can be tricky (I hope the illustrations helps with that part). For convenience I set the duration of the animation to 1.0. This is because the time offset is in absolute values. Doing this means that a time offset of 0.0 is at 0% into the animation (at the beginning) and a time offset of 1.0 is at 100% into the animation (at the end).
Slider
Starting really simple, we create a basic animation for the background color of a layer and add it to that layer. We set the speed of the layer to 0 to pause the animation.
CABasicAnimation *changeColor =
   [CABasicAnimation animationWithKeyPath:@"backgroundColor"];
changeColor.fromValue = (id)[UIColor orangeColor].CGColor;
changeColor.toValue   = (id)[UIColor blueColor].CGColor;
changeColor.duration  = 1.0; // For convenience

[self.myLayer addAnimation:changeColor
                   forKey:@"Change color"];

self.myLayer.speed = 0.0; // Pause the animation
Then in the action method for when the slider is dragged we set the current value of the slider (also configured to go from 0 to 1) as the time offset of the layer
- (IBAction)sliderChanged:(UISlider *)sender {
    self.myLayer.timeOffset = sender.value; // Update "current time"
}
This gives the effect that as we drag the slider the current value of the animation changes and updates the background color of the layer.

Pull to refresh
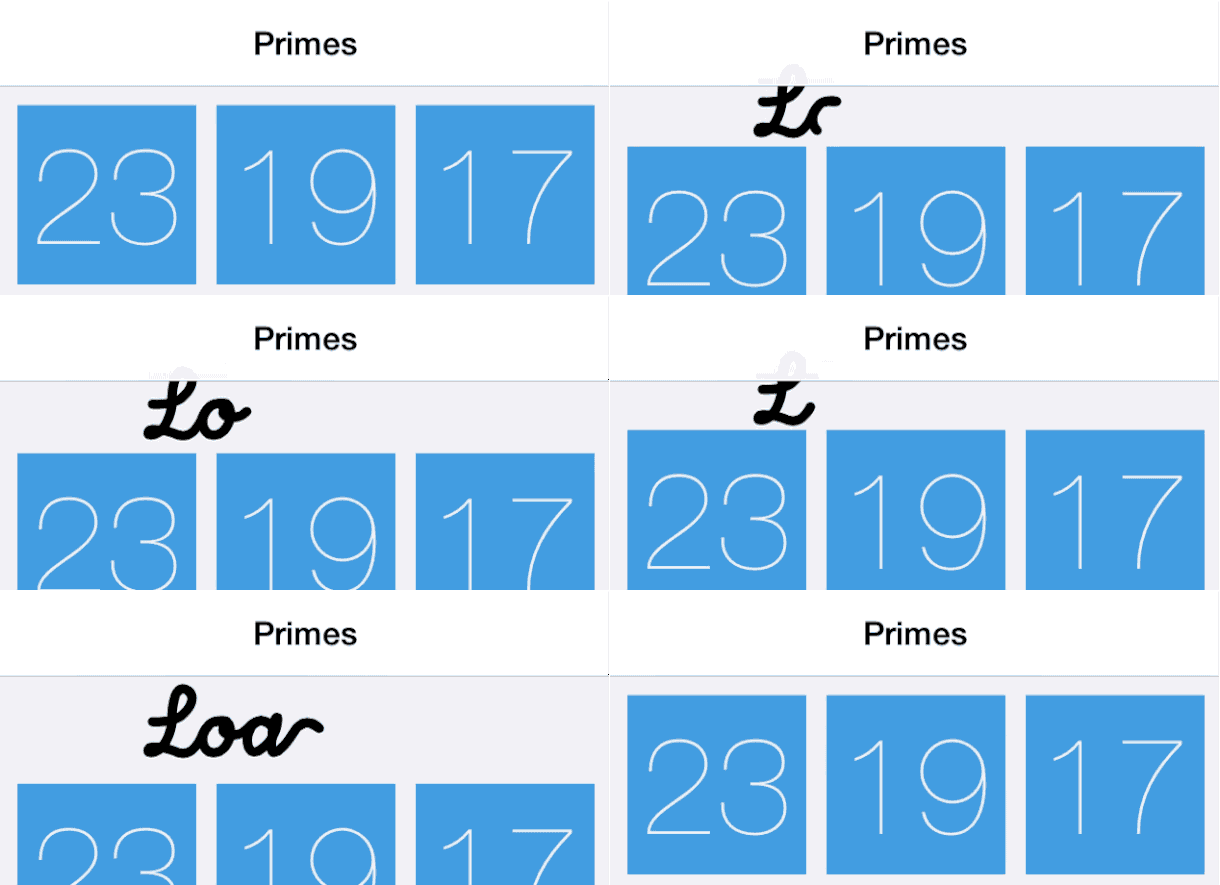
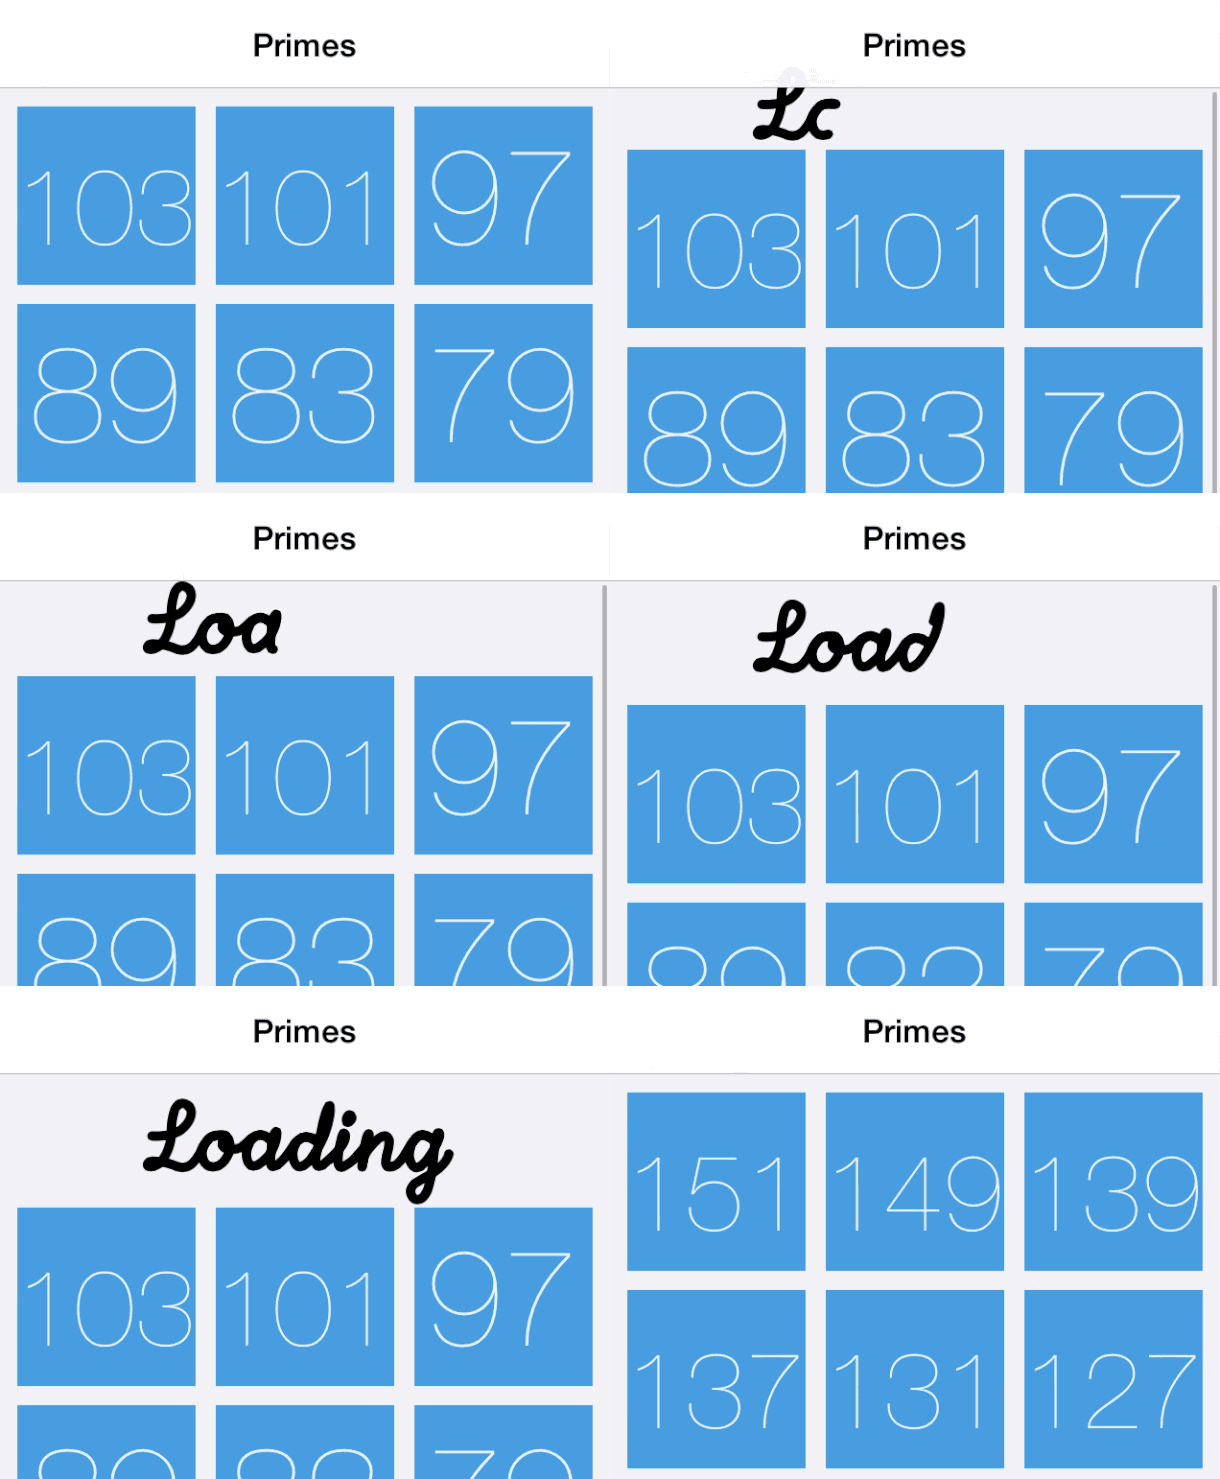
You can also use other mechanisms like scroll events to control animation timing. This can be used to create a very custom pull to refresh animation where the animation is progressing as the user pulls down until a threshold value where you start loading new data. The animation that the scroll event controlls in my example is the stroking of a path (animating the strokeEnd property of a shape layer) and when it reaches a threshold it will start another animations to signal that new data is loading.
Instead of a slider to control the timing we use the amount that the scroll view is dragged down. This value will be in points so it has to be normalized to be used as a time offset but that is fine because we need a drag threshold to know when to load more data anyway. The code that handles pulling down the scroll view looks like this
- (void)scrollViewDidScroll:(UIScrollView *)scrollView
{
    CGFloat offset =
      scrollView.contentOffset.y+scrollView.contentInset.top;
    if (offset <= 0.0 && !self.isLoading) {
        CGFloat startLoadingThreshold = 60.0;
        CGFloat fractionDragged       = -offset/startLoadingThreshold;

        self.pullToRefreshShape.timeOffset = MAX(0.0, fractionDragged);

        if (fractionDragged >= 1.0) {
            [self startLoading];
        }
    }
}
and the animation being controlled looks like this
CABasicAnimation *writeText =
  [CABasicAnimation animationWithKeyPath:@"strokeEnd"];
writeText.fromValue = @0;
writeText.toValue = @1;

CABasicAnimation *move =
  [CABasicAnimation animationWithKeyPath:@"position.y"];
move.byValue = @(-22);
move.toValue = @0;

CAAnimationGroup *group = [CAAnimationGroup animation];
group.duration = 1.0;
group.animations = @[writeText, move];
The result is that as you pull down you have direct control over the progress of the animation (i.e. the further you pull the more of the word “Load” is written). If you pull up again then the animation will move backwards.

Once you pass the threshold you start the actual loading animation and load more data. My code for doing this looks like this.
I set that I’m loading to prevent timeOffset from being set in scrollViewDidScroll:, start the loading animation and adjust the content inset to prevent the scrollview from scrolling up past the loading indicator.
self.isLoading = YES;

// start the loading animation
[self.loadingShape addAnimation:[self loadingAnimation]
                         forKey:@"Write that word"];

CGFloat contentInset    = self.collectionView.contentInset.top;
CGFloat indicatorHeight = CGRectGetHeight(self.loadingIndicator.frame);
// inset the top to keep the loading indicator on screen
self.collectionView.contentInset =
  UIEdgeInsetsMake(contentInset+indicatorHeight, 0, 0, 0);
self.collectionView.scrollEnabled = NO; // no further scrolling

[self loadMoreDataWithAnimation:^{
    // during the reload animation (where new cells are inserted)
    self.collectionView.contentInset =
      UIEdgeInsetsMake(contentInset, 0, 0, 0);
    self.loadingIndicator.alpha = 0.0;
} completion:^{
    // reset everything
    [self.loadingShape removeAllAnimations];
    self.loadingIndicator.alpha = 1.0;
    self.collectionView.scrollEnabled = YES;
    self.pullToRefreshShape.timeOffset = 0.0; // back to the start
    self.isLoading = NO;
}];
The end result when you scroll down past the threshold looks like this

Controlling an animation like that is a nice little detail to add to your application and you can do some advanced group animations like this one without writing crazy amounts of code. I didn’t show it here but you can do the same kind of control with a gesture recognizer or any other direct control mechanism.
The sample pull-to-refresh project shown above can be found on GitHub.
-
You can use the fillMode property to fill forwards and get the animation to show the
toValueafter the duration has passed but the animation is going to be removed upon completion so only setting the fillMode would not be enough. You would also have to configure the animation to not be removed on completion by settingremovedOnCompletion = NO. Just be aware that the animation only affects the visuals (the presentation layer) so by doing these two things you have introduced a difference between the model and the view. The same data (the animated property) exists in two places (the value of the property and what appears on screen) but now they are out of sync. ↩ -
Fun fact: a negative speed (like -1) will cause the animation to go backwards in “time”. ↩